
Vidu Q4 Image to Video Guide
A starting picture establishes the subject and composition; a motion instruction explains what should happen next. This guide uses two existing Preview clips of the same ceramic cup to show the difference between moving a camera and moving a subject. Both were generated on October 10, 2026. Their settings and observed results provide a concrete starting point for planning a short clip, without promising that another image or prompt will reproduce them.
What Is Vidu Q4 Image to Video?
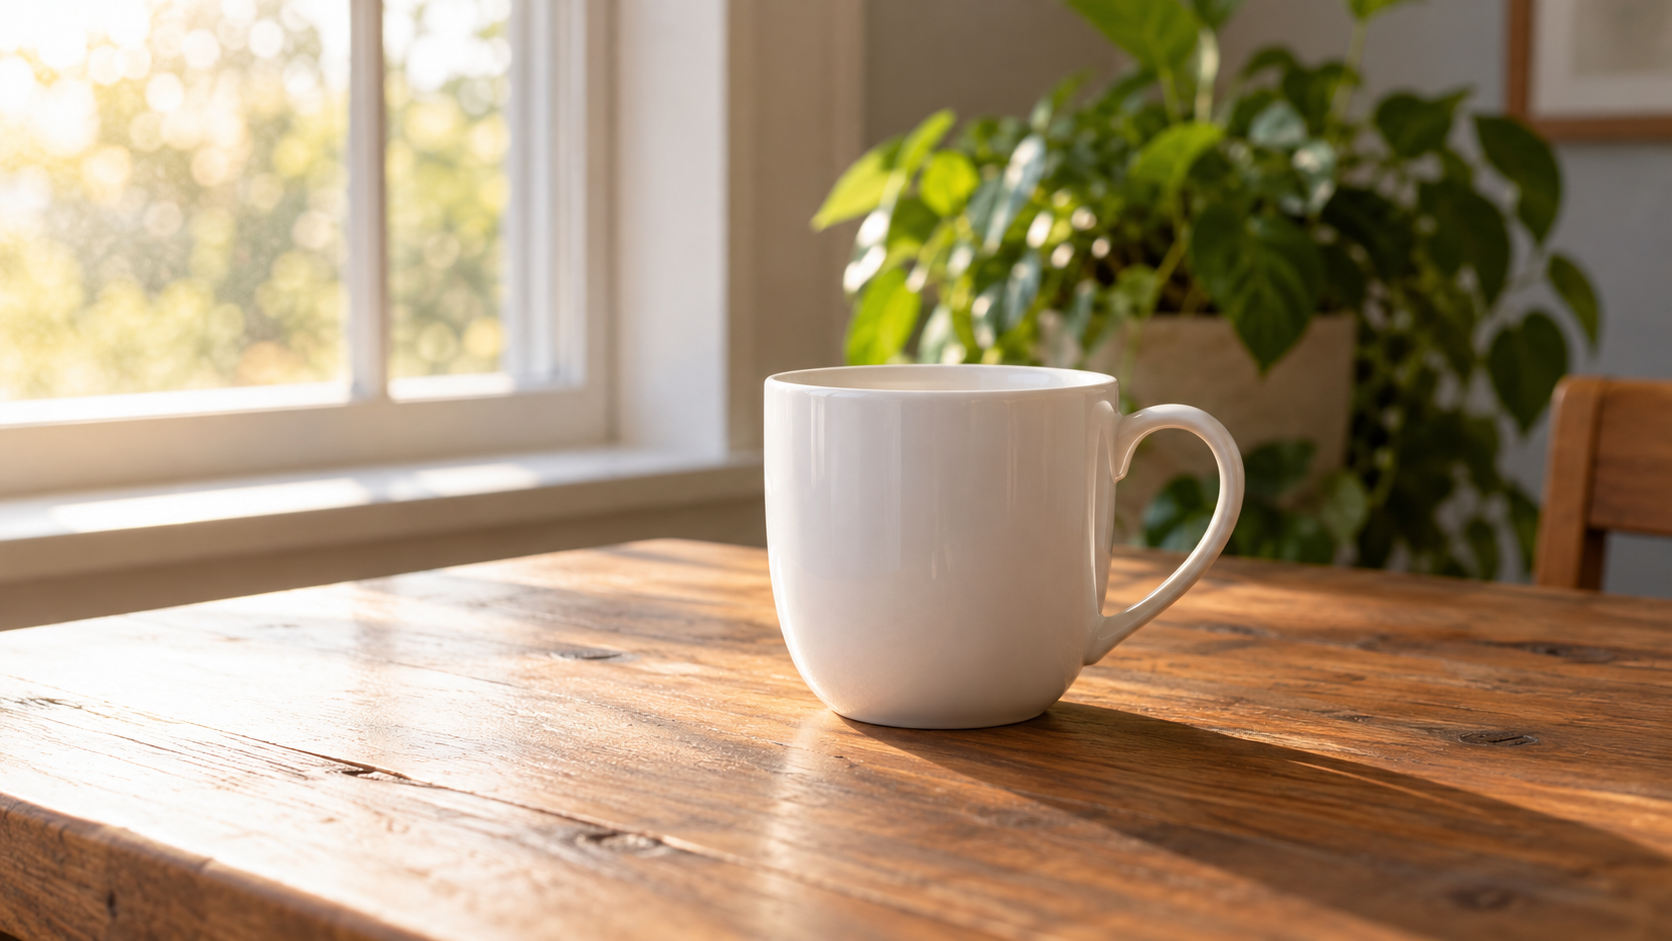
On Vidu Q4, Image to Video starts with one uploaded picture and accepts an optional prompt. The image supplies a visual anchor: the cup, table, window, and their arrangement already exist before movement is requested. Sign in to create, then plan an action that fits what the picture shows.
A useful way to approach Vidu Q4 image to video is to separate subject motion from camera motion. Steam rising is a change within the scene; a camera pushing closer changes the view. Combining many new actions makes it harder to judge which instruction the finished clip follows.
How to Choose an Input Image
Choose a picture whose main subject is easy to identify before adding movement. In the shared cup input, the handle has a clear outline and the tabletop provides a visible reference for movement. These are practical selection cues, rather than a claim that a simple background guarantees a better result.
- Check the outline. Look for a recognizable silhouette and the details you want to preserve. If a handle or edge is already hidden, a prompt cannot be relied on to reconstruct it accurately.
- Leave room for the action. Consider where a moving object could travel and what a camera arc might reveal. A tightly cropped subject leaves less visible space for either change.
- Read the background. Reflections, strong lines, and nearby objects help you notice shifts. They can also make unwanted distortion easier to see when you review the entire clip.
Vidu Q4 Image to Video Examples
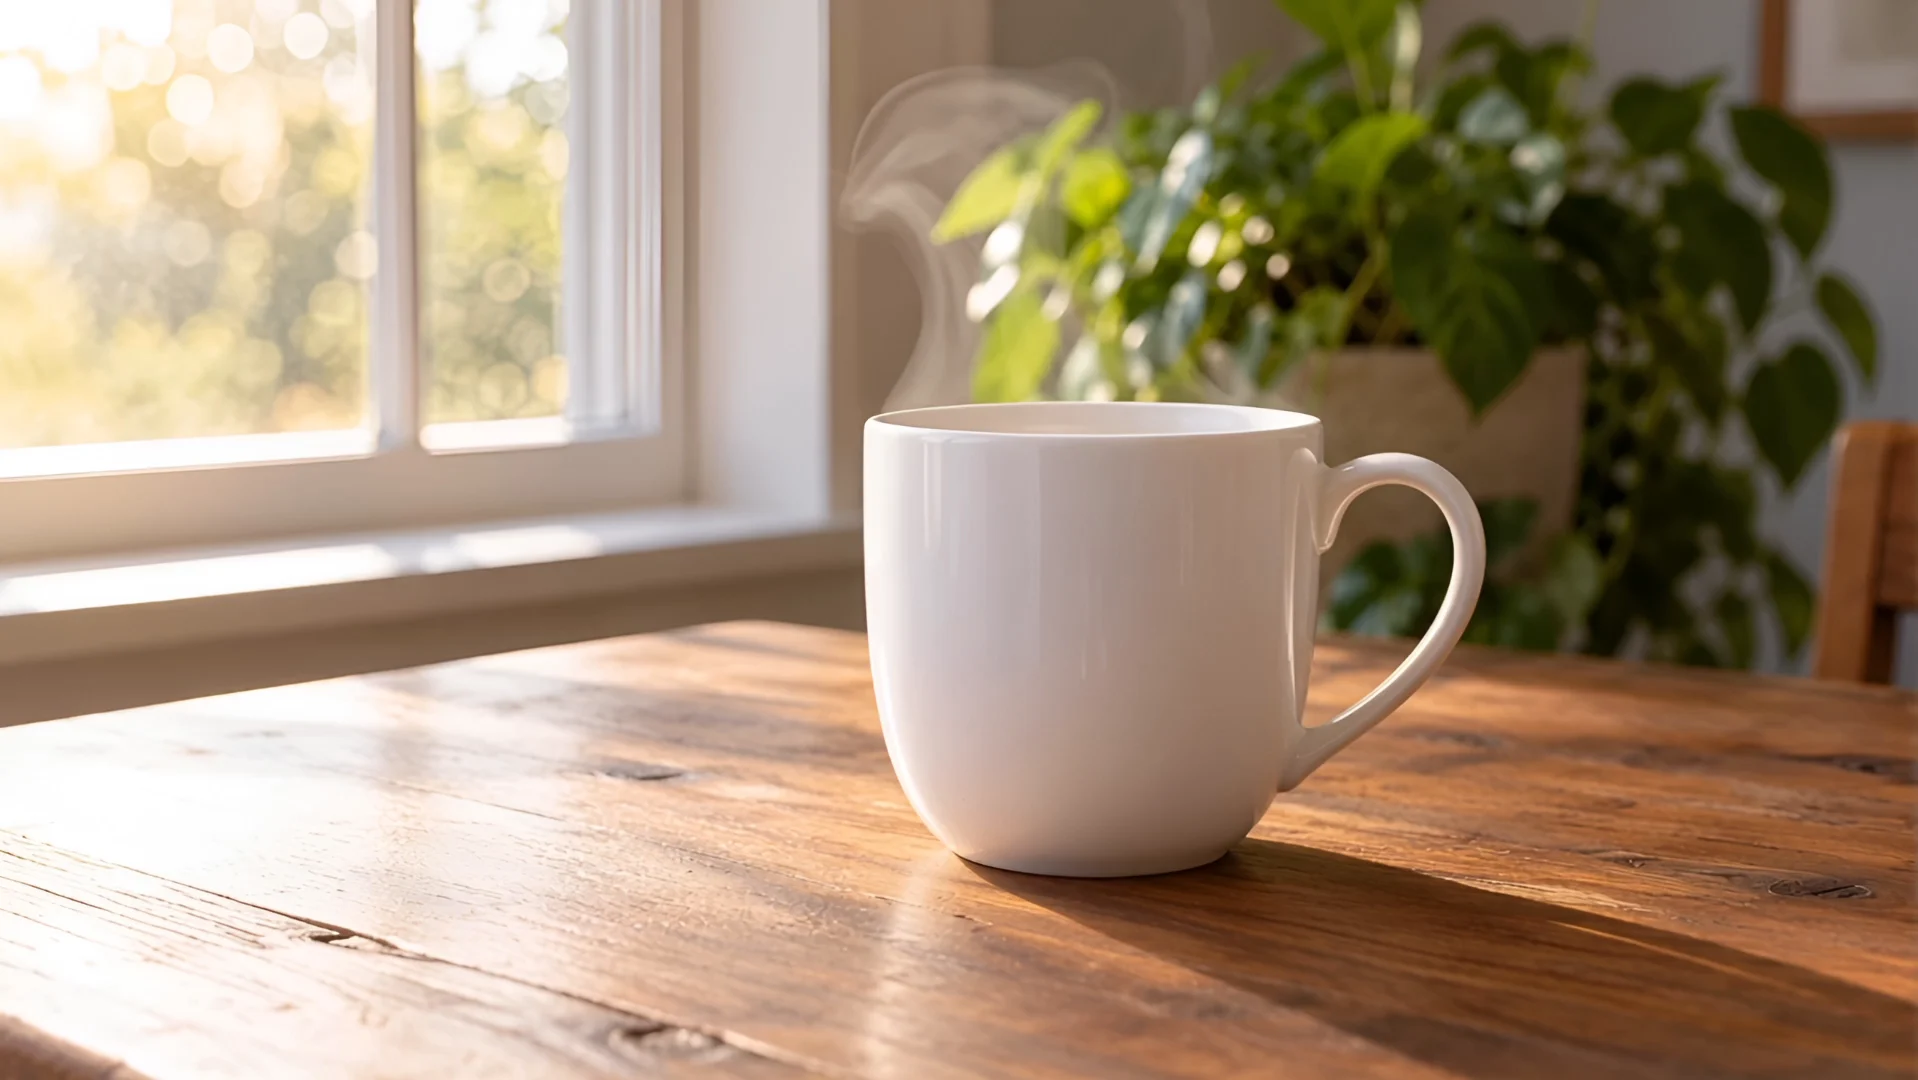
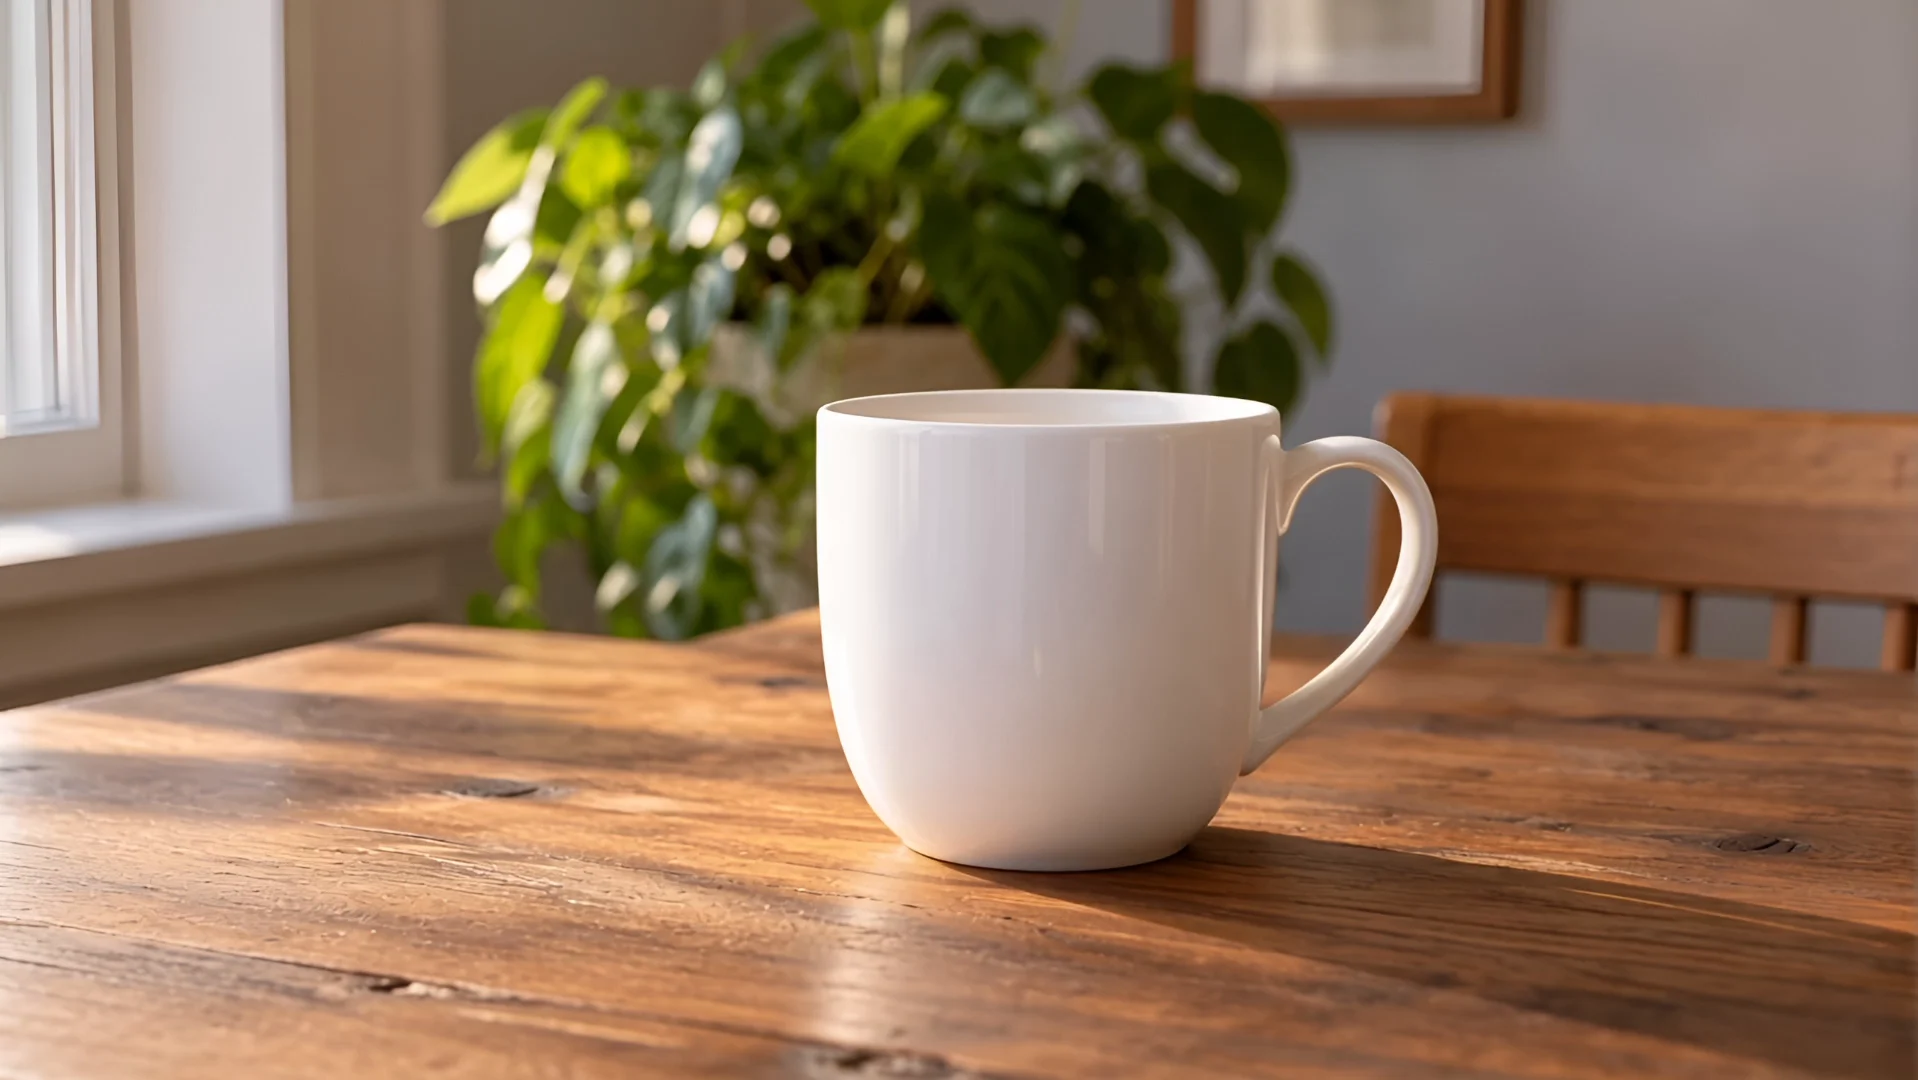
The two recorded video examples below share one input image. Watch the cup outline as well as the changing view; a moving background and a moving object are different observations.
Morning ceramic
The first clip asks for a slow approach while steam rises. The recorded observation supports both movements, with the cup and handle retaining their shape. The visible steam gives the scene a secondary action while the camera supplies the main change in framing.
Still-life camera arc
The second prompt asks the cup to remain still while the camera makes a restrained arc. The recorded result shows a stable cup and background displacement. That is useful evidence of a changing viewpoint, but there is no measured angle or trajectory proving an exact arc.
This pair is not a controlled comparison of one switch. The prompt, Prompt expansion, and generated-audio settings changed together; both requests used random seeds. You can compare the visible motion goals, but cannot attribute a difference to expansion or sound alone. Neither result establishes how another object would behave.
Settings and Recorded Results
Both requests selected the 1080p setting and eight seconds. The resulting files are 1918 pixels wide, rather than exactly 1920. Treat a resolution label as the selected setting and inspect the actual file before planning a delivery canvas or export.
| Clip | Request | Actual output | Switches |
|---|---|---|---|
| Morning ceramic | 1080p, 8 seconds | 1918 × 1080, 8.041667 seconds | Expansion on; audio on |
| Still-life camera arc | 1080p, 8 seconds | 1918 × 1080, 8.041667 seconds | Expansion off; audio off |
Image mode has no separate Aspect ratio control. The starting image informs the composition, while the final dimensions remain something to check. Both clips used random seeds; they are individual outputs, not repeatability measurements.
For the upload, switches, and task controls, follow the step-by-step guide. This page focuses on preparing an image and judging motion instead of repeating those operations.
How to Plan Your Next Clip
Before submitting another idea, write down what should stay fixed and what should move. A clear subject, one main action, and one camera instruction make the finished result easier to inspect. The following sequence is editorial advice, not a set of additional tested outputs.
- Choose the subject detail that matters most, such as a recognizable handle, material, or outline.
- Describe one movement that fits the image, with a restrained speed and direction.
- Decide whether the camera should hold, approach, or change viewpoint rather than asking for all three.
- Watch the whole result, including the ending, and compare the subject against the starting picture.
Review credit information when changing duration or resolution. These two eight-second cup clips do not establish results for longer settings, other subject types, or every available resolution. Keep your own settings with each result so that the next revision has a clear starting point.
Image to Video FAQ
Do I need an image?▼
Yes. Image to Video requires one starting picture. The picture is an input, not a completed video result.
Is a prompt required?▼
A prompt is optional in this mode. A short motion instruction can make your intended subject action or camera movement clearer.
Where do I choose the aspect ratio?▼
Image mode has no separate Aspect ratio control. Consider the composition of your starting picture and inspect the actual output framing.
Do these two clips prove that every subject stays stable?▼
No. They show two results from one cup image with different prompts and settings. They do not establish a general success rate or guarantee identical results.